Properly charging your golf cart isn't just another chore on the to-do list; it's the single most important thing you can do to protect your investment. Think of it this way: getting the charging routine right from the start can literally double the life of your batteries, saving you from a costly and premature replacement down the road.
This is the foundation for a reliable, long-lasting cart.
Why Proper Golf Cart Charging Matters
A haphazard approach to charging is a surefire way to end up with a dead cart and a hefty bill. The process is a bit more nuanced than just plugging it in. You need to understand your specific battery type and build good habits that protect your investment from day one.
The way you charge a traditional deep-cycle lead-acid battery is completely different from how you'd handle a modern lithium-ion setup. A one-size-fits-all strategy is a recipe for disaster. For example, consistently undercharging a lead-acid battery leads to a nasty problem called sulfation, where crystal buildups on the plates permanently kill its capacity.
The Foundation of a Healthy Battery
Every single charge cycle plays a role in the overall health of your battery bank. When you get it right, you get the maximum range and power for every trip, whether you're cruising the back nine or just getting around the neighborhood. It's also a matter of safety—proper charging prevents dangerous issues like overheating or the release of flammable gases from poorly maintained lead-acid batteries.
Key Takeaway: Smart charging is proactive maintenance. It’s the difference between replacing a $1,000+ battery bank every three years versus getting six or more years of reliable service.
As electric carts have exploded in popularity, the technology behind them has taken a huge leap forward. The market for chargers is booming, with forecasts showing it will double from $0.6 billion in 2023 to $1.2 billion by 2032. This shift points to smarter, more efficient charging solutions designed for today's cart owners. You can see more about this growing market and its trends to understand where things are headed.
This guide will walk you through the practical, actionable strategies you need:
- Selecting the Right Hardware: We’ll cover how to match your charger to your battery's specific voltage and chemistry.
- Executing Safe Practices: You'll learn the correct steps to avoid sparks, overheating, and other common hazards.
- Optimizing Battery Lifespan: We'll dive into the smart habits that protect your battery during daily use and long-term storage.
Let's get started on mastering the art of charging your golf cart and steering clear of those common, costly mistakes.
Choosing the Right Charger for Your Cart
Think of it this way: using the wrong charger on your golf cart is like trying to fill a diesel truck with regular gasoline. It's a recipe for a costly, and completely avoidable, mistake. Picking the right charger isn't just about finding something that plugs in; it's about matching the specific needs of your cart's battery system to ensure its health, longevity, and performance.
First things first, you have to know your cart's voltage. This is non-negotiable. Most carts run on either a 36-volt or 48-volt system. Using a charger with the wrong voltage is a fast track to destroying your batteries. Don't guess—look for the manufacturer's label on your batteries or the old charger to confirm.
Then there's the plug. It sounds simple, but the connector plug is a common stumbling block. Major brands like E-Z-GO, Club Car, and Yamaha often use their own unique plug shapes. If you have to force it, it's the wrong one. Jamming an incompatible plug can damage both the charger and the cart's charging port, turning a simple task into an expensive repair.
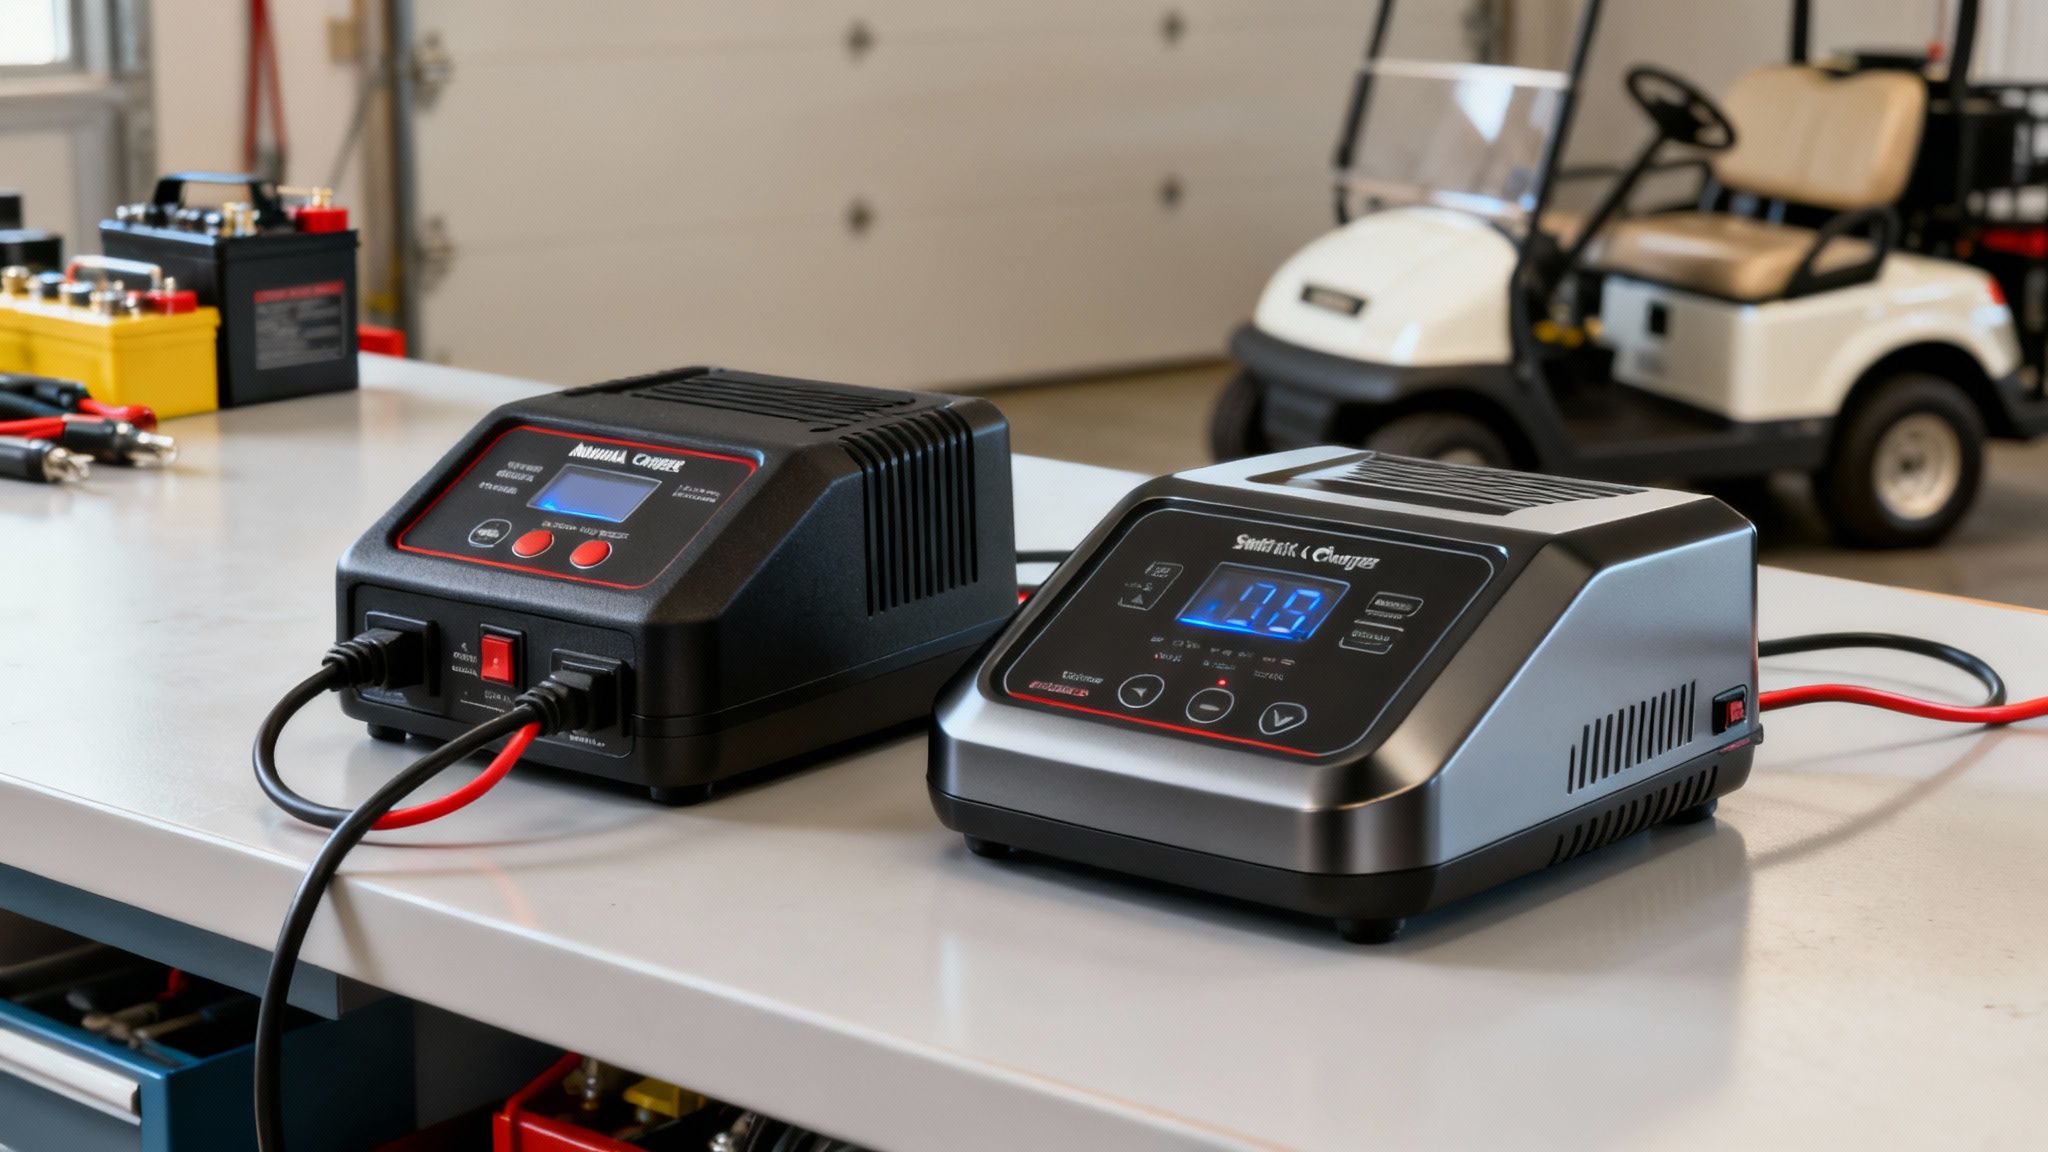
Smart Chargers Versus Manual Chargers
Not all chargers are built the same. The biggest divide is between old-school manual chargers and modern "smart" chargers. A manual charger is a blunt instrument—it just keeps pushing power until you remember to unplug it. Leave it on too long, and you'll cook your batteries.
Smart chargers, on the other hand, are the only way to go these days. They have a microprocessor inside that acts like a brain, monitoring the battery and adjusting the charge on the fly.
- Multi-Stage Charging: They use a sophisticated process (usually bulk, absorption, and float stages) to charge the batteries quickly and safely.
- Automatic Shut-Off: Once your batteries are full, a smart charger doesn't just turn off. It switches to a "float" or maintenance mode.
- Prevents Overcharging: This maintenance mode delivers just a tiny bit of power to keep the batteries topped off without the risk of overcharging, which is one of the leading killers of golf cart batteries.
If you're managing a fleet of carts at a golf course, a heavy-duty, weather-resistant smart charger is an absolute must. For a personal cart you just use on weekends, a good automatic charger gives you the confidence that it's always ready to go, no babysitting required.
The real value of a smart charger is peace of mind. It takes the guesswork out of charging golf carts, protecting your battery bank from the single most common user error—overcharging.
To really get a handle on this, it helps to understand the basics of how AC to DC battery chargers work, since that's the core technology behind every charger you'll look at.
Matching Charger to Battery Type
The type of battery in your cart is another huge factor. The golf cart battery market is booming—it's projected to hit $2.5 billion by 2034—and a lot of that growth is driven by the shift from traditional lead-acid batteries to modern lithium-ion.
These new lithium batteries are a different animal. They often need chargers designed specifically for their chemistry to unlock their main benefits, like faster charging and much longer lifespans. It's worth checking out a detailed breakdown of https://solanaev.com/golf-cart-lithium/ to see if an upgrade makes sense for you.
At the end of the day, spending a little more on a high-quality, compatible charger is one of the smartest investments you can make. It directly protects your much more expensive battery pack and ensures you get every bit of life out of it.
The Correct Way to Charge Your Golf Cart
Charging your golf cart seems simple enough, right? Plug it in and walk away. But I've seen firsthand how a few common mistakes can seriously shorten the life of your batteries or, worse, create a real safety hazard. Getting the process down pat is one of the most important things you can do as a cart owner.
Let's walk through the right way to do it, focusing on the details that truly matter. With lead-acid batteries, you're dealing with a chemical reaction. As they charge, they can vent a little hydrogen gas—which is completely odorless and highly flammable. That's why starting with a safe setup isn't just a suggestion; it's essential.
Prepare a Safe Charging Area
First things first, where you charge matters. Always pick a spot with good ventilation. Think of a garage with the door cracked, a covered carport, or a shed that gets a decent breeze. You just want to make sure that hydrogen gas has a place to go and can’t build up.
The last place you want to charge is a cramped, sealed space like a small closet. Give the cart at least a few feet of breathing room on all sides. It's also just common sense to keep flammable stuff like gas cans, paint thinners, or oily shop rags far away from your charging station.
The Correct Connection Sequence
This is a big one, and it's where a lot of people go wrong. The order you plug things in makes all the difference in preventing a spark right at the battery terminals. A spark is the last thing you want around any potential hydrogen gas.
Remember this simple rule: cart first, then wall.
- Plug into the Cart: Get the charger's DC cord and connect it firmly to your golf cart's charging receptacle. Make sure it clicks in and feels secure.
- Plug into the Outlet: After the cart is connected, plug the charger’s AC power cord into a grounded wall outlet.
When it's time to unplug, just do the reverse: unplug from the wall first, then from the cart. Making this a habit nearly eliminates the risk of a dangerous spark right where it matters most.
Pre-Charge Inspection Checklist
Before you connect a single thing, take 30 seconds to do a quick visual check. I can't tell you how many times this simple step has helped people catch a small problem before it turned into a major repair bill or a safety issue.
- Inspect the Cords: Look over both the AC and DC cords for any cracks, fraying, or exposed wires. A damaged cord is a serious fire risk and needs to be replaced immediately, no exceptions.
- Clean the Terminals: Glance at the battery terminals. See any of that white or bluish powdery crust? That's corrosion, and it acts like an insulator, preventing a full charge. A quick scrub with a wire brush and a paste of baking soda and water will clear it right up.
This infographic really drives home the difference between doing it right and taking shortcuts.
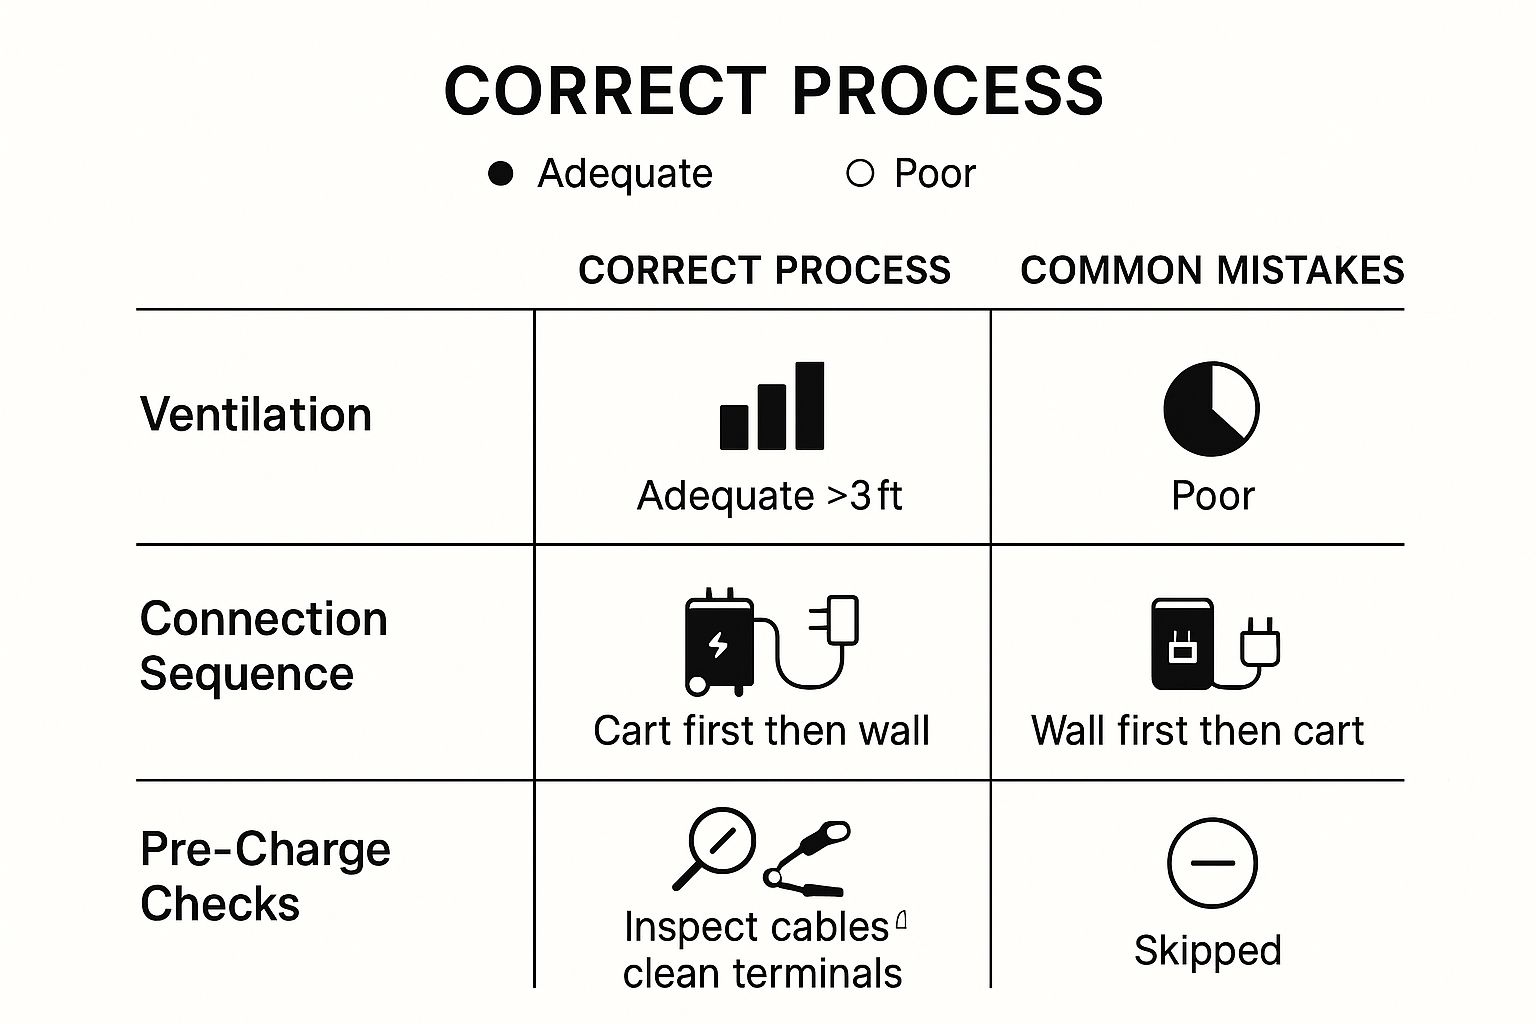
As you can see, these aren't complicated steps. They're simple procedures that separate a safe, effective charge from one that's just asking for trouble.
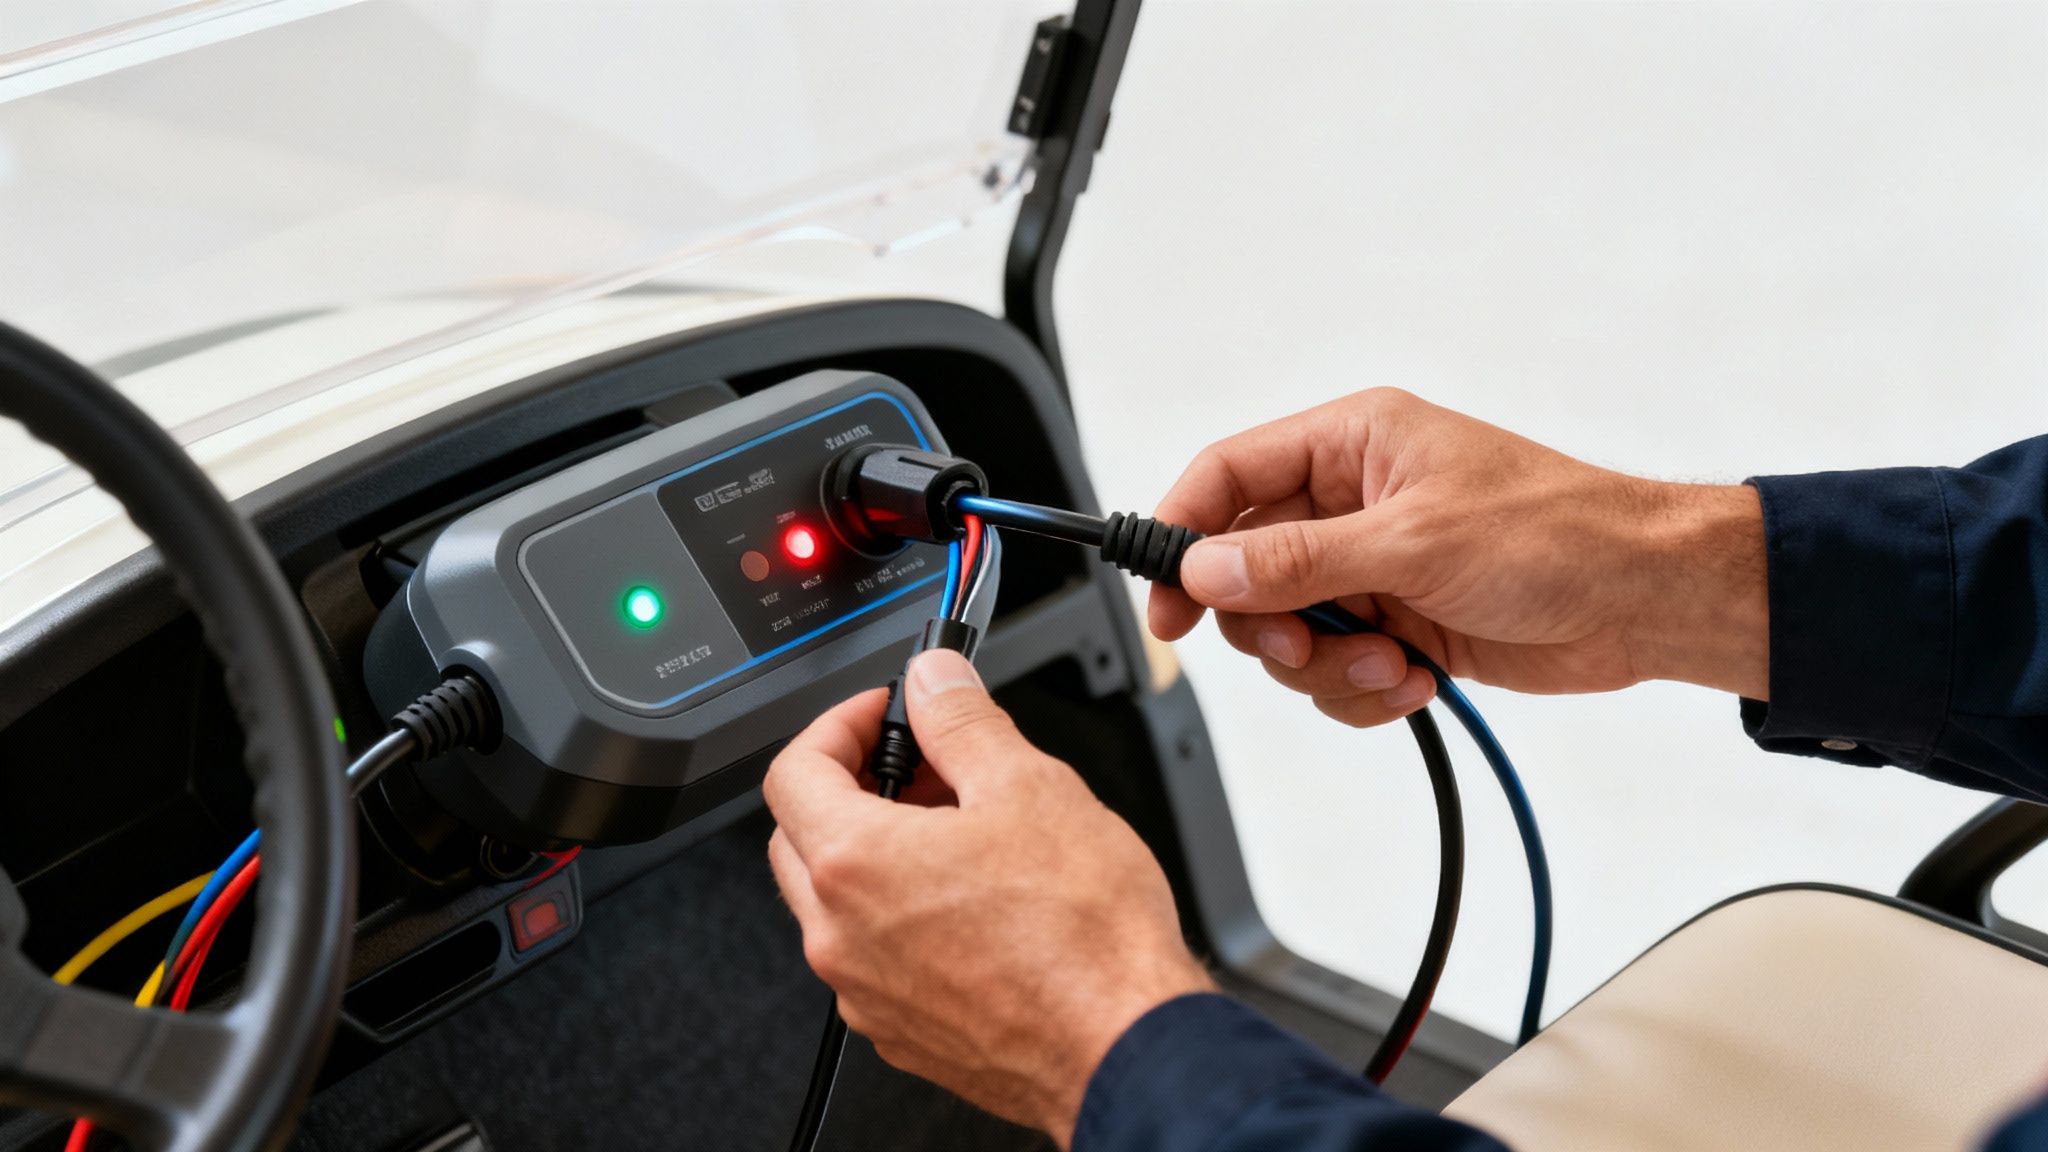
Understanding the Charger Lights
Once you're all plugged in, your charger will start communicating with you through its indicator lights. The exact signals can vary a bit between brands, but most modern smart chargers are pretty straightforward. You'll usually see a light to show it has power, another to confirm it's actively charging, and finally, a light (often a solid green one) to signal the charge is 100% complete.
It's really important to let the charger finish its job, especially with lead-acid batteries. Don't unplug it halfway through. Letting it run the full cycle until it automatically shuts off or switches into a "float" or maintenance mode is what properly balances and conditions the battery pack. Of course, knowing how to read your golf cart battery gauge also helps you see exactly where you started and where you ended up.
Developing Smart Charging Habits to Extend Battery Life
https://www.youtube.com/embed/GESIh5tYsi4
How you treat your charger and your cart's batteries has a massive impact on how long they'll last. It's easy to fall into a "plug it in and forget it" mindset, but a few simple, smart habits can literally add years to your battery’s life. Trust me, that translates into real money saved down the road.
The key is to work with your battery's specific chemistry, not against it.
A particularly damaging myth, especially for those of us who grew up with older battery types, is that you should run them all the way down before recharging. For a deep-cycle lead-acid battery, that’s just about the worst thing you can do. Draining them too low triggers a process called sulfation, which permanently chokes off their ability to hold a charge.
The best rule of thumb for lead-acid? Recharge it after every single use. It doesn't matter if you just drove it down the block and back—plug it in.
Lead-Acid vs. Lithium-Ion Charging Habits
Of course, the rules of the game change completely if you're running a modern lithium-ion pack. What works for a traditional lead-acid battery can actually harm a lithium one, and vice-versa. Getting this right is probably the most important part of modern cart ownership.
For example, I see people "opportunity charging" all the time—plugging in for 15-20 minutes here and there. This is fantastic for lithium batteries. They don't have a "memory effect" and thrive on these short bursts. But try that with a lead-acid pack, and you'll prevent it from ever getting the full, deep, equalizing charge it needs to stay healthy.
To make it crystal clear, here’s a quick breakdown of how you should approach each type:
Lead-Acid vs. Lithium-Ion Charging Habits
| Charging Aspect | Lead-Acid Batteries | Lithium-Ion Batteries |
|---|---|---|
| Daily Charging | Recharge after every use, no matter how short. | Recharge as needed; partial charges are perfectly fine. |
| Charge Level | Aim to complete a full 100% charge cycle each time. | Keep the state of charge between 20% and 80% for ideal longevity. |
| "Opportunity Charging" | Avoid short, frequent charges. This prevents proper equalization. | Ideal. Plug it in whenever you have a chance without worry. |
| Deep Discharges | Highly damaging. Avoid letting the charge drop below 50%. | Less damaging than with lead-acid, but still best to avoid routinely. |
| Equalization | Requires a periodic "equalizing" charge to balance cells. | Not required. The internal Battery Management System (BMS) handles cell balancing. |
As you can see, they're two completely different worlds.
The single biggest mistake is treating all batteries the same. A lead-acid battery thrives on a consistent, full charging cycle, while a lithium battery offers far more flexibility. Understanding this difference is key to proper golf cart battery maintenance.
This shift is more important than ever. The market has been flooded with battery-electric vehicles (BEVs), which now make up a whopping 72.5% of all golf carts. This boom is almost entirely thanks to lithium-ion systems that give us better range and faster charging.
Best Practices for Long-Term Storage
Putting your cart away for the winter? Don't just park it in the garage and walk away. Letting a battery sit for months—whether it's full or empty—is a recipe for irreversible damage.
Here’s how to do it right:
- Lead-Acid Batteries: You'll want to charge these all the way to 100% before putting them away. The best-case scenario is leaving it plugged into a smart charger with a "float" or "maintenance" mode. If you can't do that, you absolutely must remember to top it off every 30-45 days.
- Lithium-Ion Batteries: These prefer to hibernate with a partial charge. The sweet spot is right around 50% to 80%. Leaving a lithium battery at 100% for months on end actually stresses the cells and can knock a bit off its total lifespan.
These aren't just minor details; they're the habits that protect your investment during the off-season. While golf carts have their own quirks, the science is similar across the board—it's interesting to see how long electric vehicle batteries typically last and notice the parallels. A little mindfulness here ensures your cart is ready to go the moment you are.
How to Troubleshoot Common Charging Problems
It’s a classic, frustrating moment: you plug in your golf cart for the night, expecting a full charge, but wake up to a dead battery. It happens. But before you start pricing out new batteries or a charger, take a breath. Most common charging issues are surprisingly simple to diagnose and fix on your own.
Don't jump to the worst-case scenario. Start with the basics—the simple stuff we all overlook. You'd be surprised how often a tripped circuit breaker or a dead wall outlet is the real culprit. Grab a lamp or your phone and plug it into the same outlet just to be sure it's got juice.
From there, physically check your connections. Is the charger's plug pushed all the way into the wall? Is the charging cord securely seated in your cart's receptacle? A slightly loose connection is one of the most common reasons a charging cycle never even begins.
When the Charger Won’t Turn On
Okay, so the outlet is live and every connection is snug, but the charger is still completely dead. No lights, no hum, nothing. The problem is likely within the charger itself.
The first thing to check is the fuse. Power surges can happen, and many chargers have a simple built-in fuse designed to blow to protect the more expensive components. Dig out your charger's manual to find its location. If it looks burnt or the wire inside is broken, you've found your problem. A new fuse is a very cheap and easy fix.
Another common gremlin is the cart's onboard computer (OBC), which can sometimes "lock out" the charger after a power flicker or interruption. Essentially, the cart's brain gets confused and refuses to let the charger do its job. A quick OBC reset, which usually just means disconnecting the main battery pack for about 10-15 minutes, can often clear the error and re-establish communication.
Diagnosing Battery and Performance Issues
What if the charger lights up and seems to be working, but the cart’s performance is terrible? This usually falls into two camps: either the cart dies way too fast after a charge, or the charger shuts off long before it should.
If your cart runs out of steam much faster than it used to, the issue is almost certainly with your batteries, not the charger. One weak or failing battery in the pack can't hold its charge, effectively dragging the performance of the entire set down with it. This is particularly common with older lead-acid batteries, where a single bad apple can spoil the bunch.
A healthy battery pack delivers smooth, consistent power. If you're seeing a sudden, sharp decline in your cart's range or hill-climbing ability right after a "full" charge, it's a huge red flag. It’s time to load-test each battery individually.
Now for the other scenario: the charger kicks on, runs for a bit, then shuts off way too soon. This can happen when the batteries are so deeply drained that the charger's safety protocols prevent it from starting a full cycle. Many modern "smart" chargers need to detect a minimum voltage level before they'll engage. If your pack is completely dead, the charger might not even recognize it's connected. You might need a special low-voltage recovery charger or a visit to a professional to safely revive the pack.
Your Top Golf Cart Charging Questions, Answered
Even with the best instructions, you're bound to have questions about charging your golf cart. That’s perfectly normal. Getting the right answers is the key to taking great care of your cart's batteries. Let's go through a few of the most common questions we hear from new and experienced owners alike.
One of the biggest uncertainties always revolves around how often to plug in. People wonder if a quick trip down the block really warrants a full charge. The real answer? It all comes down to what kind of batteries are powering your ride.
How Often Should I Be Charging My Golf Cart?
With old-school lead-acid batteries, the rule is ironclad: charge it after every single use. I can't stress this enough. It doesn't matter if you just went to the mailbox and back. Every time you unplug and drive, you need to plug it back in when you're done. This strict routine is crucial for stopping lead sulfate crystals from building up on the battery plates, which is a one-way ticket to a dead battery pack.
Lithium-ion batteries are a completely different story. They’re much more forgiving. You can "opportunity charge" them whenever you have a chance without worrying about long-term damage, and they don’t need to be topped off to 100% every time. Even though you can be more casual, getting into a regular charging habit is still the best way to make sure your cart is always ready to go when you are.
Is It Okay to Leave My Golf Cart Plugged In All the Time?
This is a fantastic question, and the answer depends entirely on your charger. If you're using a modern "smart" or automatic charger, then yes, leaving it plugged in is not only safe but often recommended. These intelligent chargers know when the battery is full. They’ll automatically switch over to a "float" or maintenance mode, just trickling in enough power to keep the batteries perfectly topped off without ever overcharging them.
Be warned: if you have an older, manual charger, leaving it connected is a recipe for disaster. It has no "off switch" and will just keep pumping current into a full battery, boiling away the electrolyte and cooking your batteries from the inside out. Know your charger!
Why Does My Golf Cart Charger Get So Hot?
A little warmth is totally normal. Your charger is doing a lot of work converting AC power from the wall into DC power for your batteries, and that process generates some heat. Think of it like a laptop power brick—it gets warm, but it shouldn't be alarming.
However, there’s a big difference between warm and hot. If your charger is ever too hot to comfortably rest your hand on, unplug it immediately. That’s a serious warning sign.
A few things could be causing it to overheat:
- No Airflow: The charger is stuffed in a corner or covered, and the heat has nowhere to go.
- A Loose Connection: The plug at the wall or the cart receptacle isn't seated firmly, creating resistance.
- Internal Failure: The charger itself might be on its last legs.
- Battery Issues: A problem with the battery pack could be causing it to draw way too much power.
If it gets scorching hot or you smell burning plastic, it's time to stop and have a professional take a look.
Do I Really Need to Add Water to My Batteries?
This is a critical maintenance step, but only for flooded lead-acid batteries. If that's what your cart has, then yes, checking the water levels about once a month is non-negotiable.
Always use distilled water—never tap water. The minerals in tap water will coat the battery plates and ruin them over time. Carefully fill each cell so the water level is just above the plates, but don't fill it to the very top. If you have sealed AGM or lithium-ion batteries, you can ignore all of this. They are completely sealed and 100% maintenance-free.
At Solana EV, our goal is to give you the confidence to enjoy your cart to the fullest. We build our premium, street-legal carts for peak performance and durability, pairing them with the best charging technology available. See what sets our models apart and find your perfect ride at https://solanaev.com.
woh I love your articles, saved to fav! .